My Relief Printmaking Process

opening quote mark illustration
I love what you do, your great fonts and I adore your press! The people I send your cards to love them! One is for my sister's birthday.

Amanda (USA)

closing quote mark illustration
Etching press | The Enlightened Hound
Oil based printmaking inks | The Enlightened Hound
Linocut Tools in Studio with dog | The Enlightened Hound
Etching Press | The Enlightened Hound

I often use relief printmaking techniques, especially linocutting, to create my original dog art.

I love the 'physicality' of printmaking - the sticky, messy inks, the sharp gouges for linocutting, the hiss of the brayer as it rolls out the ink, the mechanical clanking of the press and the thrill of pulling the paper from the inked plate to reveal the image.


Developing an idea

Dog globe sketch idea design | The Enlightened Hound

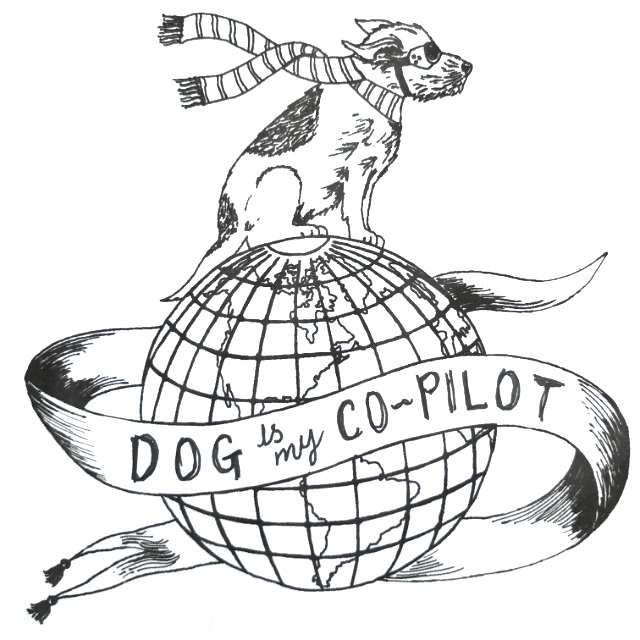
New prints usually start life as thumbnail sketches, doodles and lettering ideas. I might work traditionally (with a pencil in a sketchbook) or digitally, or often a combination of the two.

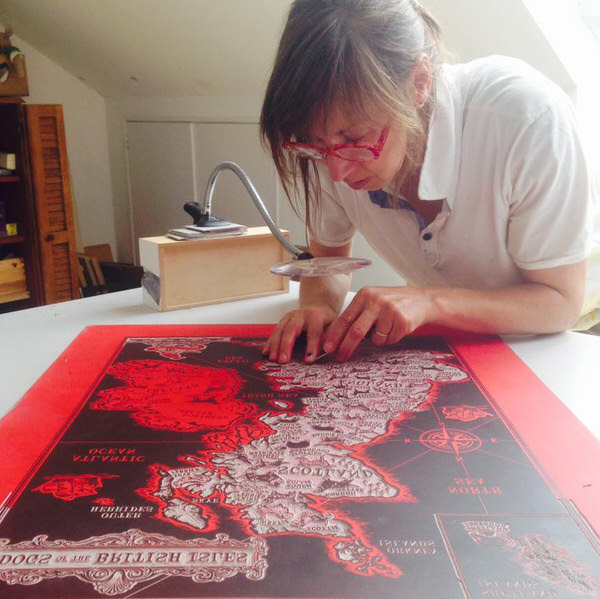
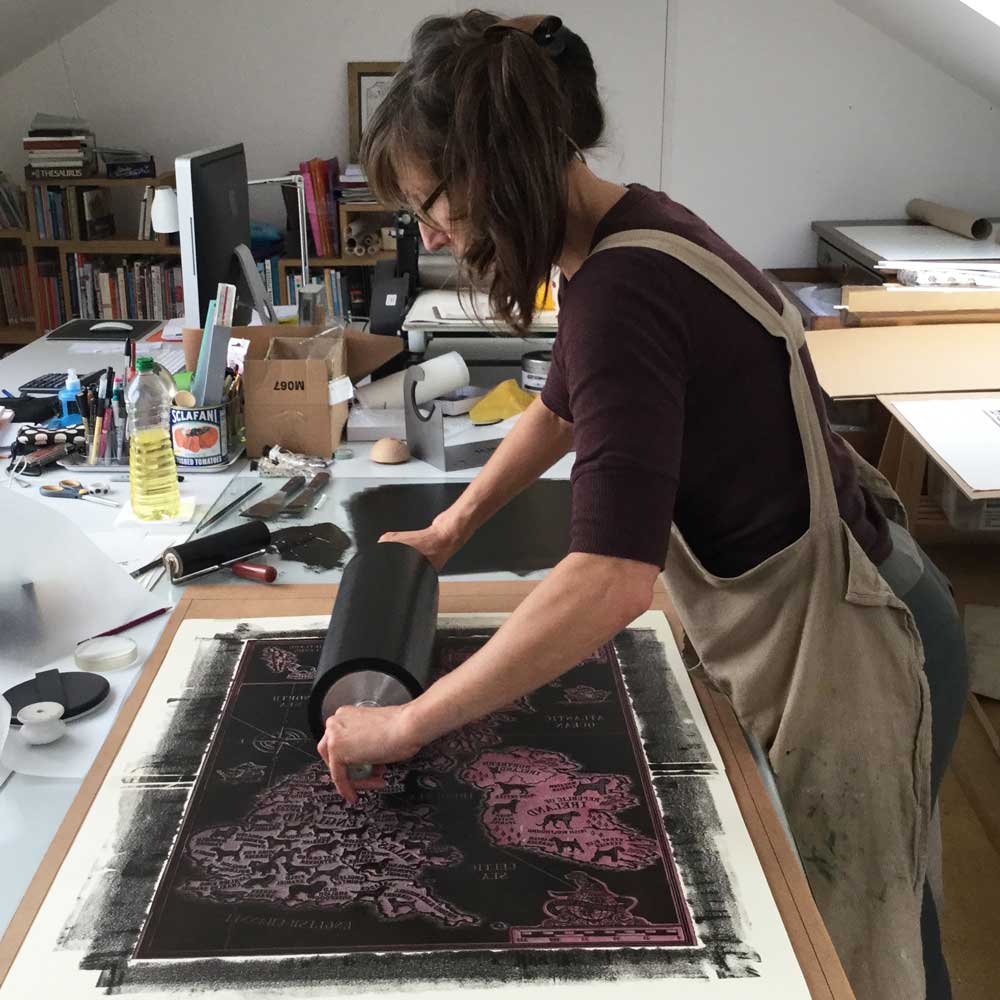
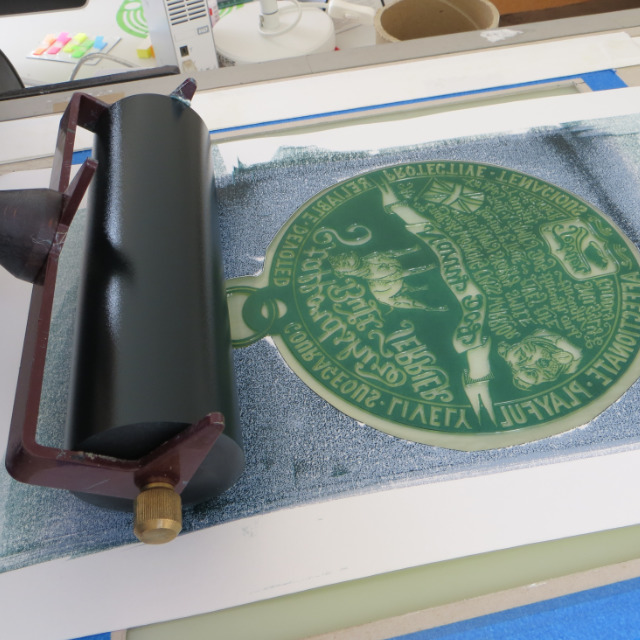
Transferring the design onto lino

Linoprint design transfer | The Enlightened Hound

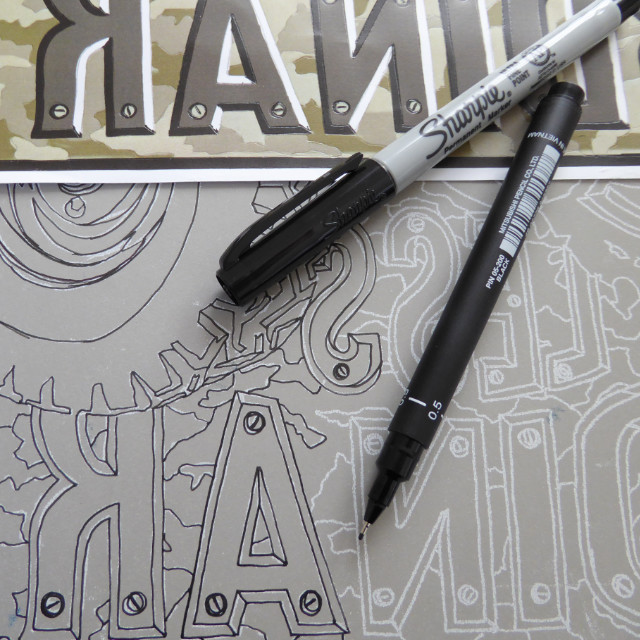
Once the visual layout is confirmed I have to consider the technical printmaking implications of achieving the final print. Printmaking requires you to think in layers, as each different colour to be printed usually needs a separate plate. For a lino-print, I transfer the relevant parts of my design onto a piece of linoleum.

Carving the lino plate

Printmaker Carving a Lino Plate | The Enlightened Hound
Linocut carved printing plate | The Enlightened Hound

Cutting the lino is painstaking, intense and therapeutic. I cut out the design using woodcarvers gouges. They have very sharp steel edges and rounded wooden ‘mushroom’ handles which fit beautifully in the palm of my hand. Each cut is final — there is little room for error. It can take many days to carve a plate, depending on its complexity. Letters have to be carved in reverse (so that they are the right way round when they are printed).

Mixing up the ink

Printmaker's Brayer and Ink | The Enlightened Hound
Printmaking ink colour recipe strips | The Enlightened Hound

I use traditional oil based printing inks. They have very intense colours and are thick and sticky and they take a while to dry, so I can only print one colour every couple of days. I mix up my colours by hand and therefore colours between batches of prints vary slightly. I use strips of paper as ‘recipe’ cards for the colours I have mixed so I remember how to recreate them next time.

Inking the plate

Printmaker inking linocut plate | The Enlightened Hound

Inks are rolled out on a glass slab in thin layer and applied to the plate using a brayer.

Photopolymer Letterpress Printing Plate | The Enlightened Hound

If the detail on the design is too fine to cut into lino I have a photo-polymer plate made of the design. These are often used in letterpress printing. They too are hand printed individually on my press.

Printing the plate

Printmaker using etching press | The Enlightened Hound

The paper is placed on top of the plate and the colour is transferred to the paper - either by passing it through a press or by burnishing the back of the paper by hand. Each colour (plate) is printed one at a time.

Drying the prints

Handmade print drying rack | The Enlightened Hound

The prints are hung up to dry which might take a few days